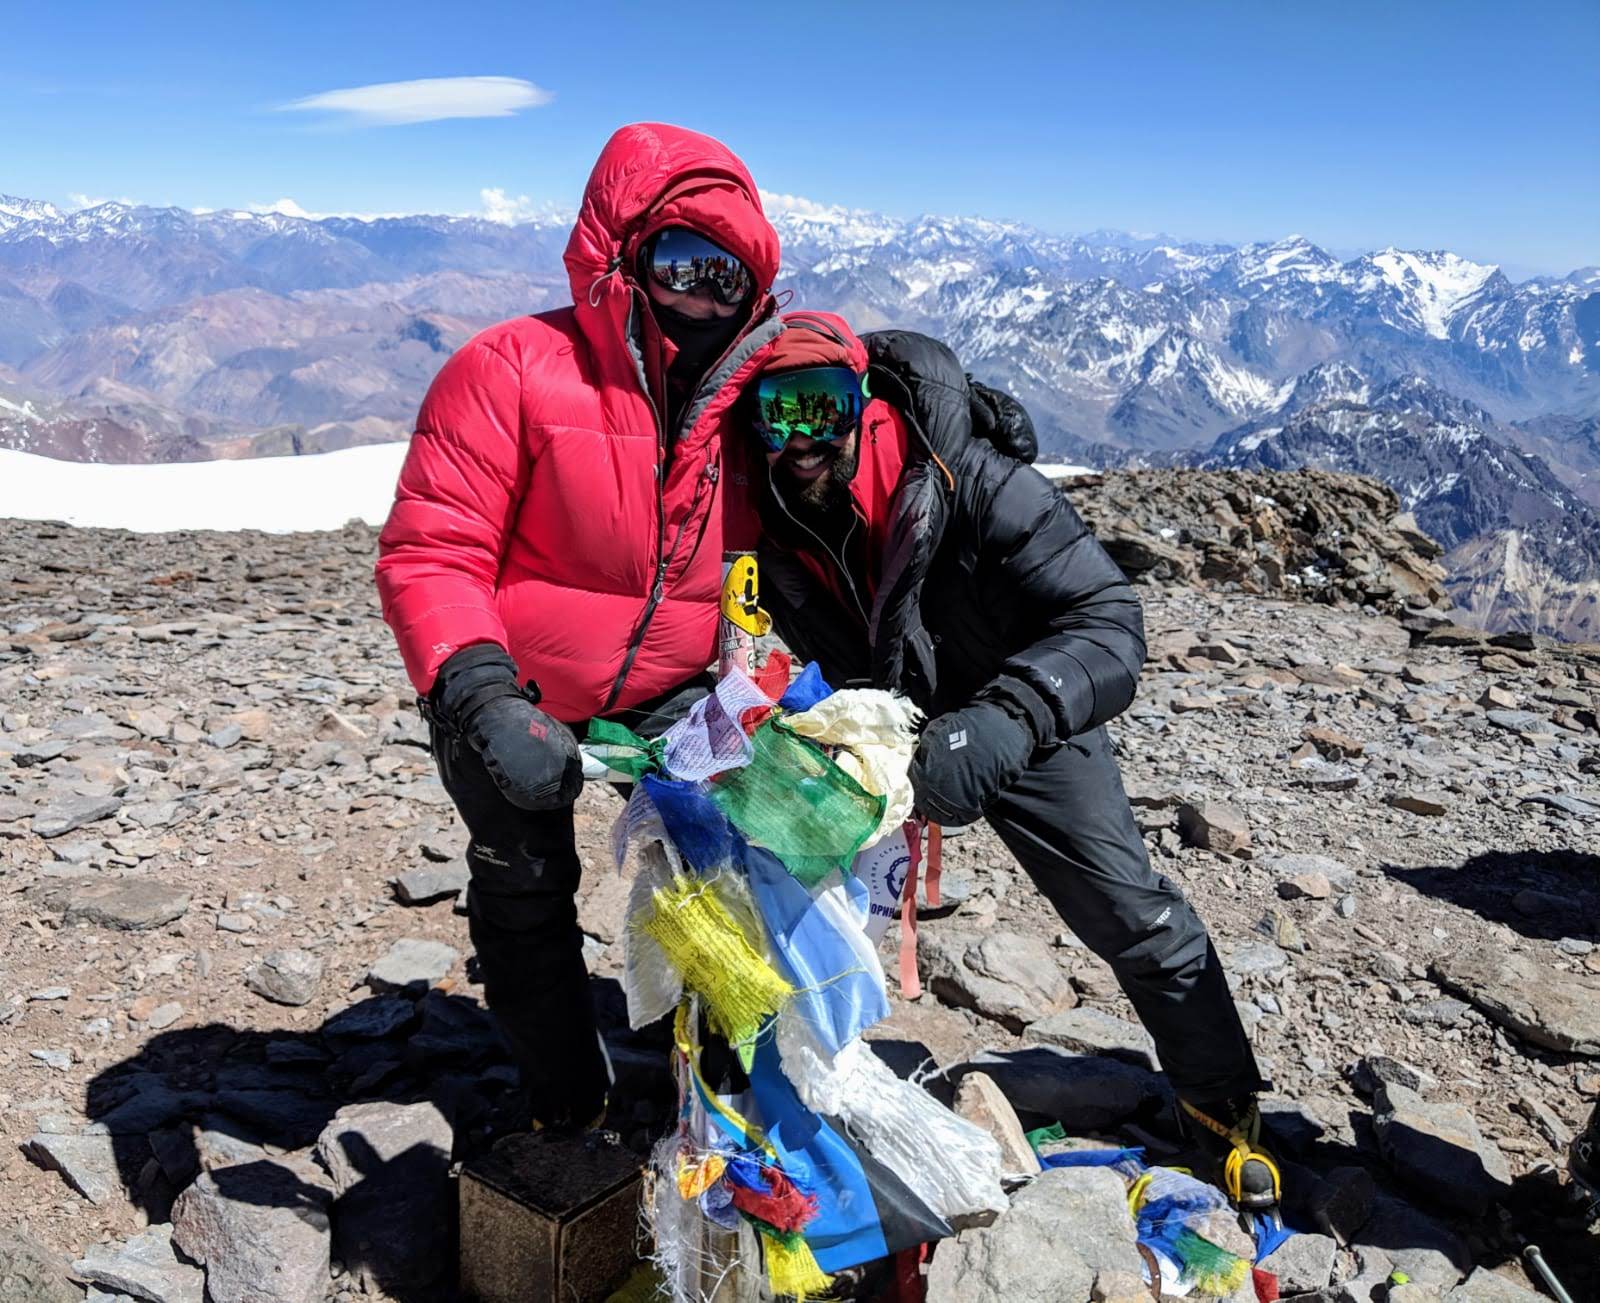
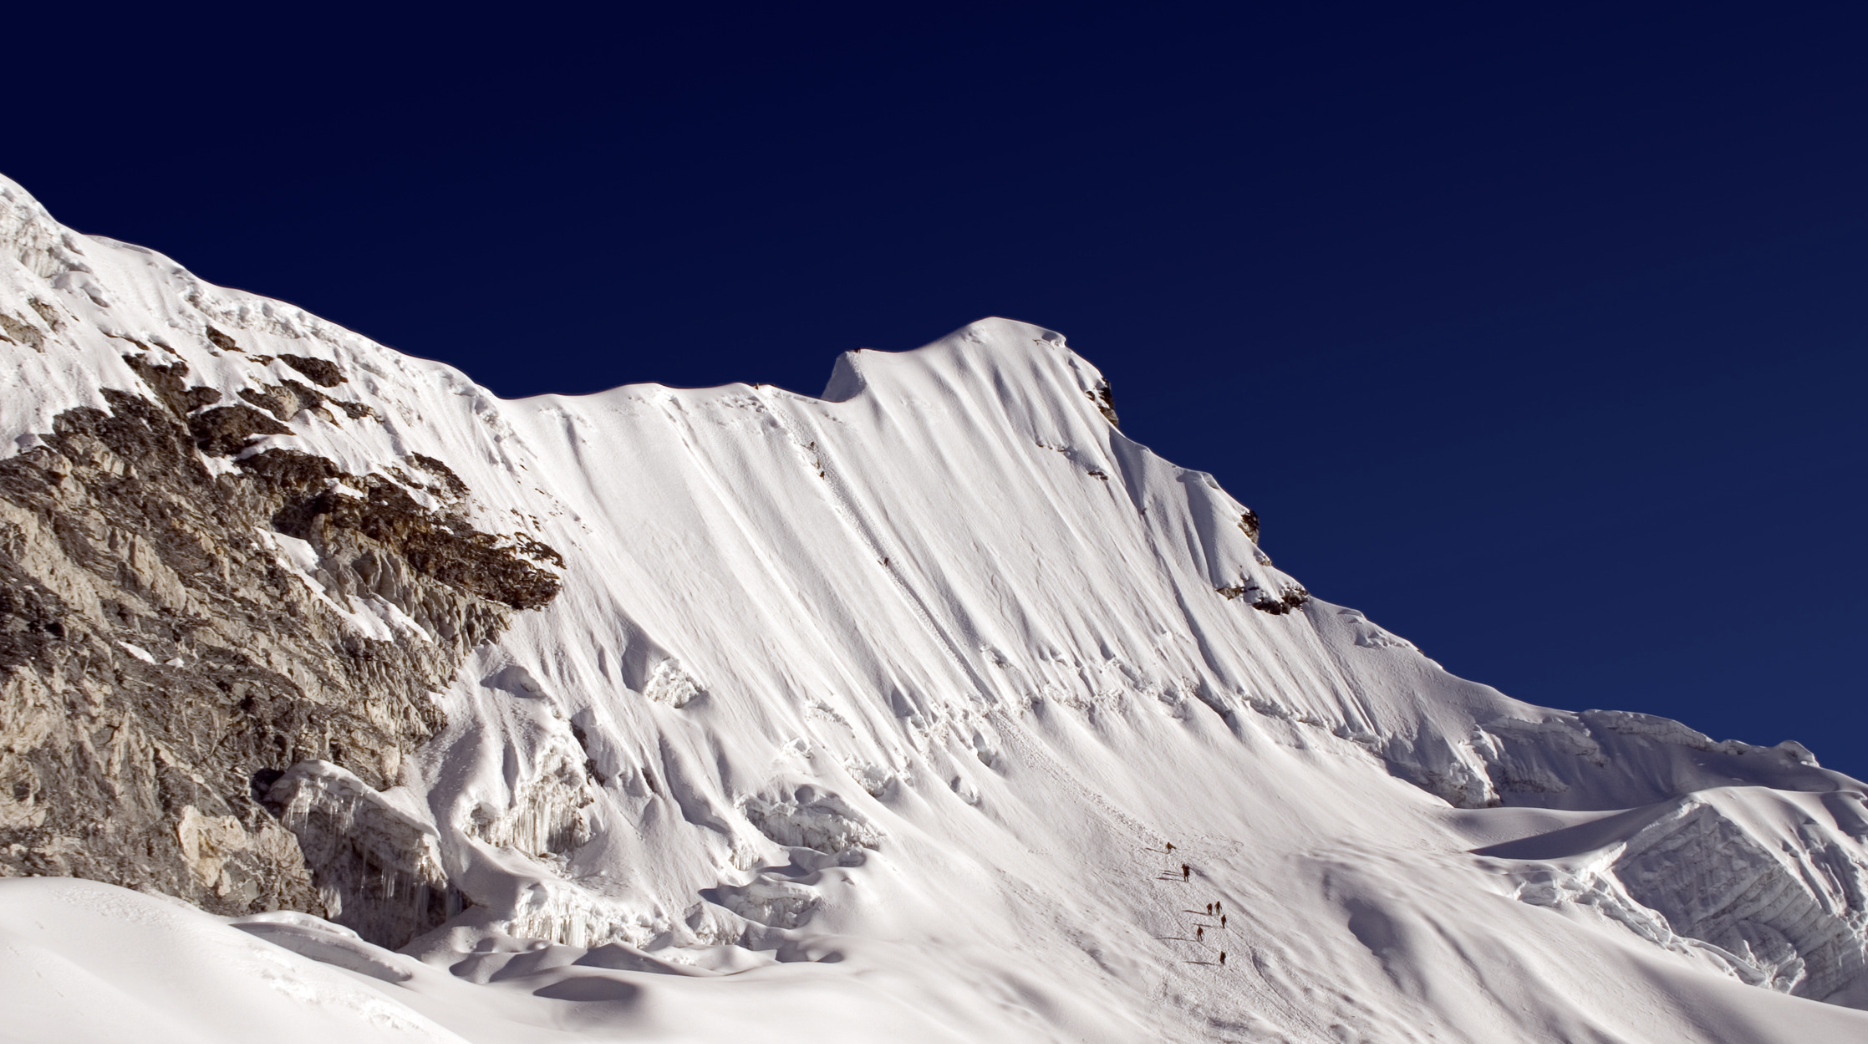
Location: Province of Mendoza, Argentina
Altitude: 6,962m (22,841ft)
Important Note – The two non-technical routes join together at about 5,980m to make the final Summit Route. You can find all the information you need about that final ascent by reading this blog – A Detailed Description Of The Summit Route To The Top Of Aconcagua. In this blog, you’ll also learn about an effective and powerful summit tip that can be the difference between making it to the top and not!
Fun Facts:
- Aconcagua means “Sentinel Of Stone” in the native Quechua language.
- It is the highest mountain in the World, outside of Asia and is the second highest mountain on the Seven Summits list. Second only to Everest.
- It is actually an extinct volcano that was active up until about nine and a half million years ago.
- About 3,500 people attempt Aconcagua per year with a estimated 30% success rate.
Aconcagua actually has four different routes:
- The Normal Route
- The Vacas Valley Route
- Polish Traverse Route
- Polish Glacier (Direct) Route
I’ll only be writing about the first two routes with you because the last two (the two Polish Routes) are actually technical climbs that require technical mountaineering skills. I have some technical skills required for routes like the two Polish routes and I would be confident taking either route but my skill set and experience is not yet deep enough or well tuned to write a well informed blog so I’ll leave those two routes up to the climbers who are more experienced. So, if you are looking for information about either of the Polish routes then this blog is not for you. If you are looking for the information on the two trekking possible trekking routes, then you’re on the right page.
FYI – Some of the names of the campsites on Aconcagua have different names but are still the same places. For example, some people call the camp found at 5,400m Nido de Condores while others call it Camp II. On the other hand, some camps only seem to have one name.
Another FYI – Make sure you read your tour operators itinerary and then align it with the information you find here and online. At the end of the day, your tour operator will decide on your route and where you camp so always follow their itinerary first and foremost.
The Normal Route – 18 to 20 days
This route starts in the Horcones Valley just as you turn off the main road near Puente Del Inca. It is a two or three day walk through a long, dry valley with an exciting bridge crossing along the way. You’ll spend one night at a campsite called Confluencia and end your two-day walk in at your new Base Camp – Plaza del Mulas (4,200m). The first bit in towards Confluencia is not particularly challenging but the section between Confluencia and Plaza del Mulas is long and ends with a steep climb to base Camp. The trek in is long and dusty, particularly when the mules that carry your big gear and food, sprint past you, leaving you in a trail of fine reddish dust. From Plaza del Mulas, you’ll have a stunning view of Aconcagua, particularly at dusk when the last bits of sun gleam off her flanks.
Most tour providers organise the use of local base camp facilities like toilets, showers and an allocated dome (big round tent) for meals. You may be sleeping in your tents or you may be in a large dome that sleeps 8 to 10 people, but this will depend on your tour provider.
The next part of the route is from Plaza del Mulas to Camp Canada (5,000m) and will take about about four hours on a long, mildly steep and loose scree slope. Once you leave Plaza del Mulas, you will also leave the last remaining bits of luxury behind, like a four-walled tin toilet.
From Camp Canada you will make a 400m ascent to Nido de Condores (5,400m), which normally takes about four hours. Depending on the weather, you may or may not need your crampons and ice axe through this section.
The final move is from Nido de Condores to Berlin Camp (5,940m) or Camp Colera (5,980m). This part is normally over snow and rock and will require you to get your crampons on and keep your ice axe in hand. Your lead guide will decide which location to camp at before your summit bid. Berlin Camp is a little bit lower while Camp Colera is higher with more space but on a very exposed plateau. There may seem to be more people from this point onwards as it is where the Vacas Valley Route meets the Normal Route.
The Vacas Valley Route – 21 days
This route is definitely the more scenic and prettier route but does require more logistical planning from your tour provider, which sometimes makes it the slightly more expensive route and because of those two factors, there tends to be less people on this route. It takes a couple days more than the Normal Route but is well worth the extra time and money.
The Vacas Valley Route also starts off at Puente Del Inca, like the Normal Route but at a different turn off. The start of this route is beautiful as you trek between a valley with a river running through it. It is lush and green without very little sign of the great, big mountain lurking behind the valley tops.
On the first day you will take a four-hour trek to Pampa De Lenas (3,000m). The route is easy and pretty much flat the entire way.
The next day you’ll enjoy a similar style of scenery over six hours as you trek to your next campsite – Casa de Piedra (3,600m). Just before you reach casa de Piedra, you’ll get your first view of Aconcagua. You can only see her summit between two small mountains/large hills in the foreground. This campsite is particularly windy as it sits in a valley so the wind can come blasting through the valley and down past the campsite.
On the third day, you’ll start your trek with a small river crossing. If you have the chance, use a mule to cross. The water is ice cold and incredibly unpleasant. It is a silly, very worthwhile luxury! Remember where you saw the peak of Aconcagua the day before, between the two small mountains/large hills? That’s where you’ll be spending most of the day trekking. You follow a river between a valley, moving up and over some very steep sections. You’ll climb up a very steep section only to be rewarded with your first real sighting of Aconcagua. At the end of the day you’ll have made it to Plaza Argentina, your new Base Camp at 4,000m.
The next move from Plaza Argentina is to Camp 1 at 4,950m. It is a five to six hour climb over scree initially, followed by scree and boulders ending with a long, steep section over snow and ice. Camp 1 is on a cliff like platform between two mountain ridges. The views are spectacular!
After Camp 1, you’ll be moving to Guanacos or Camp 2 at 5,500m. The route starts off moving up a steep slope that mixes between loose scree, ice and snow. As you edge over the slope you’ll find a wonderfully flat traverse followed by a mildly steep but consistent traverse. This traverse is exposed so it can be pretty windy if you’ve got bad weather. After the traverse you’ll pass over a couple of flatish icy/snow fields and come up a final steep few steps to see your new camp. The camp has a beautiful view over the Andes, with the most stunning spot to watch the sun set.
After Guanacos, you move up to Camp Colera (5,980m). It is a long consistently steep (manageable steep) climb over a mix of scree, snow and ice. The final section up to Camp Colera is very steep but short. The move from Guanacos to camp Colera can take five to six hours depending on your speed.
If you have the extra couple of days and a little bit more cash to spend then definitely take The Vacas Valley Route. It is more scenic, quieter and allows you that extra 24 hours or so to acclimatize.
Regardless which route you choose, you will enjoy the climb. Aconcagua is an incredible mountain that only a handful of people get the opportunity to climb and if you have that opportunity, grab it with both hands and enjoy it to the fullest degree.
P.S. Read this if you’re not sure about the training you need to be doing for Aconcagua:
How To Train For Aconcagua PLUS The 6-Month Aconcagua Training Plan
