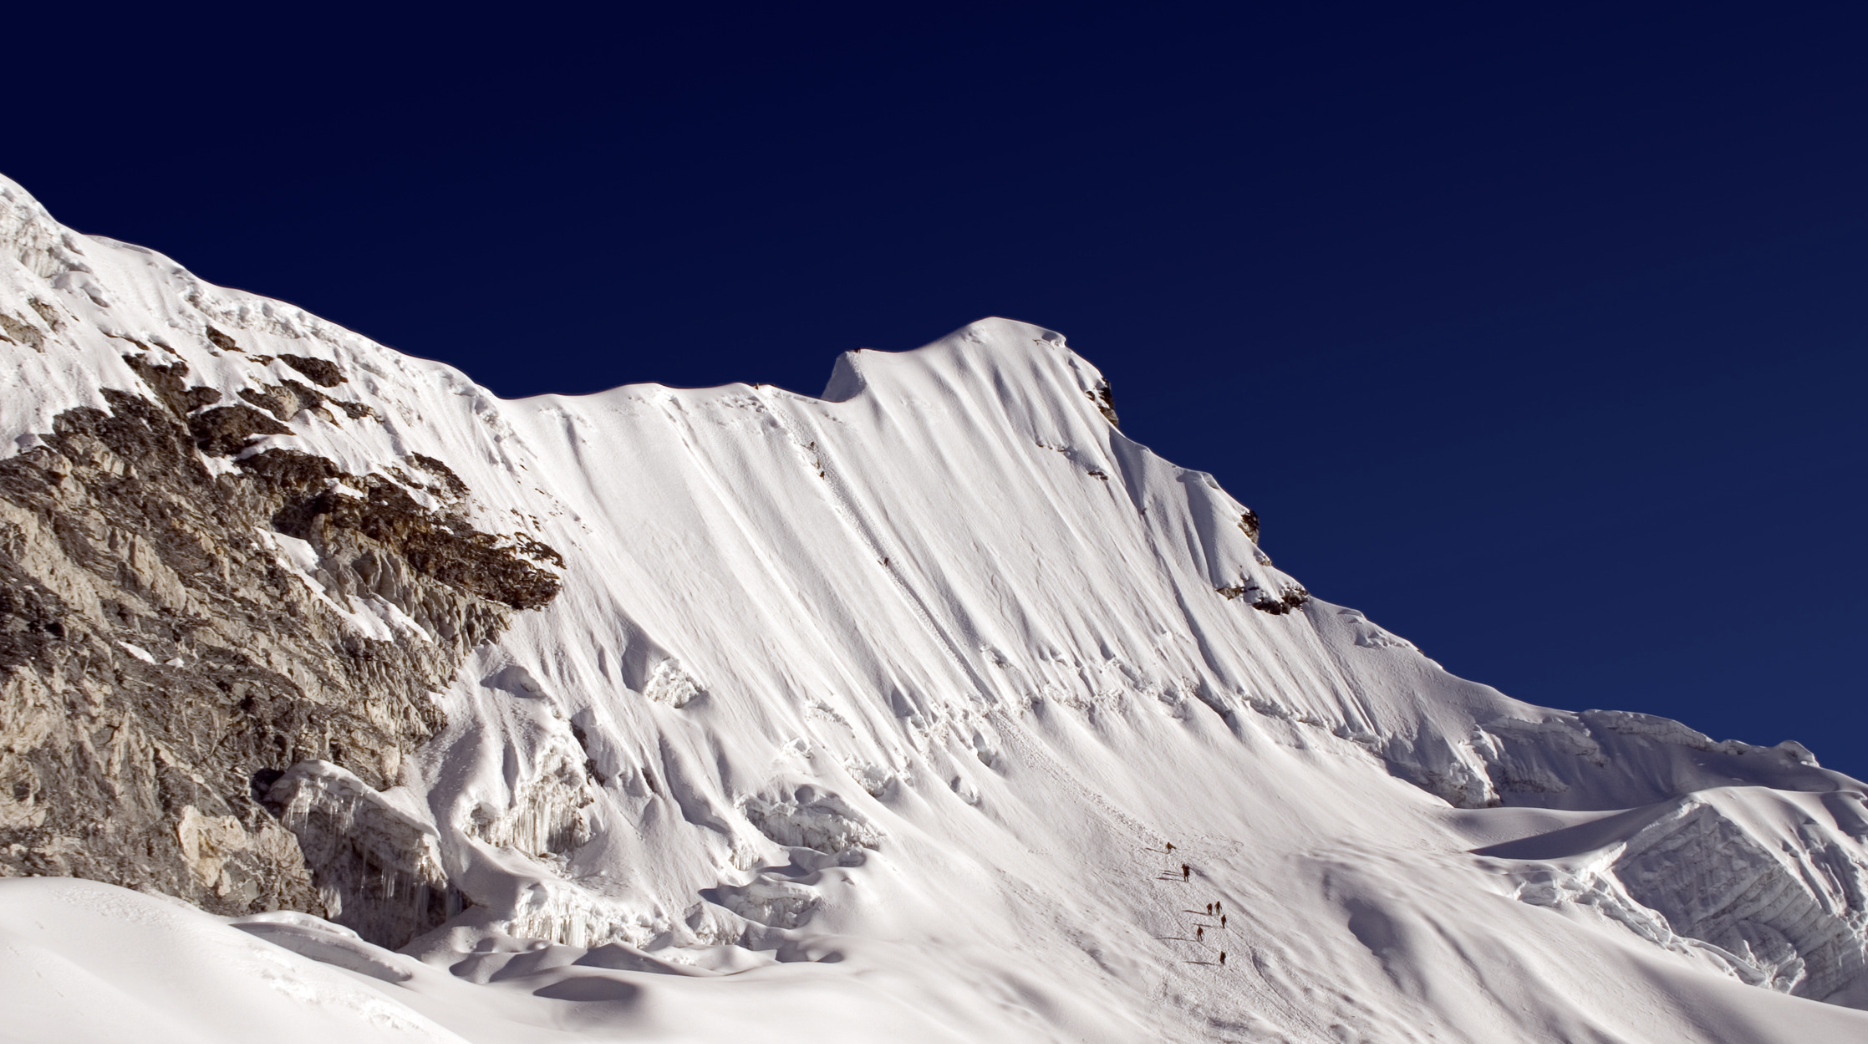
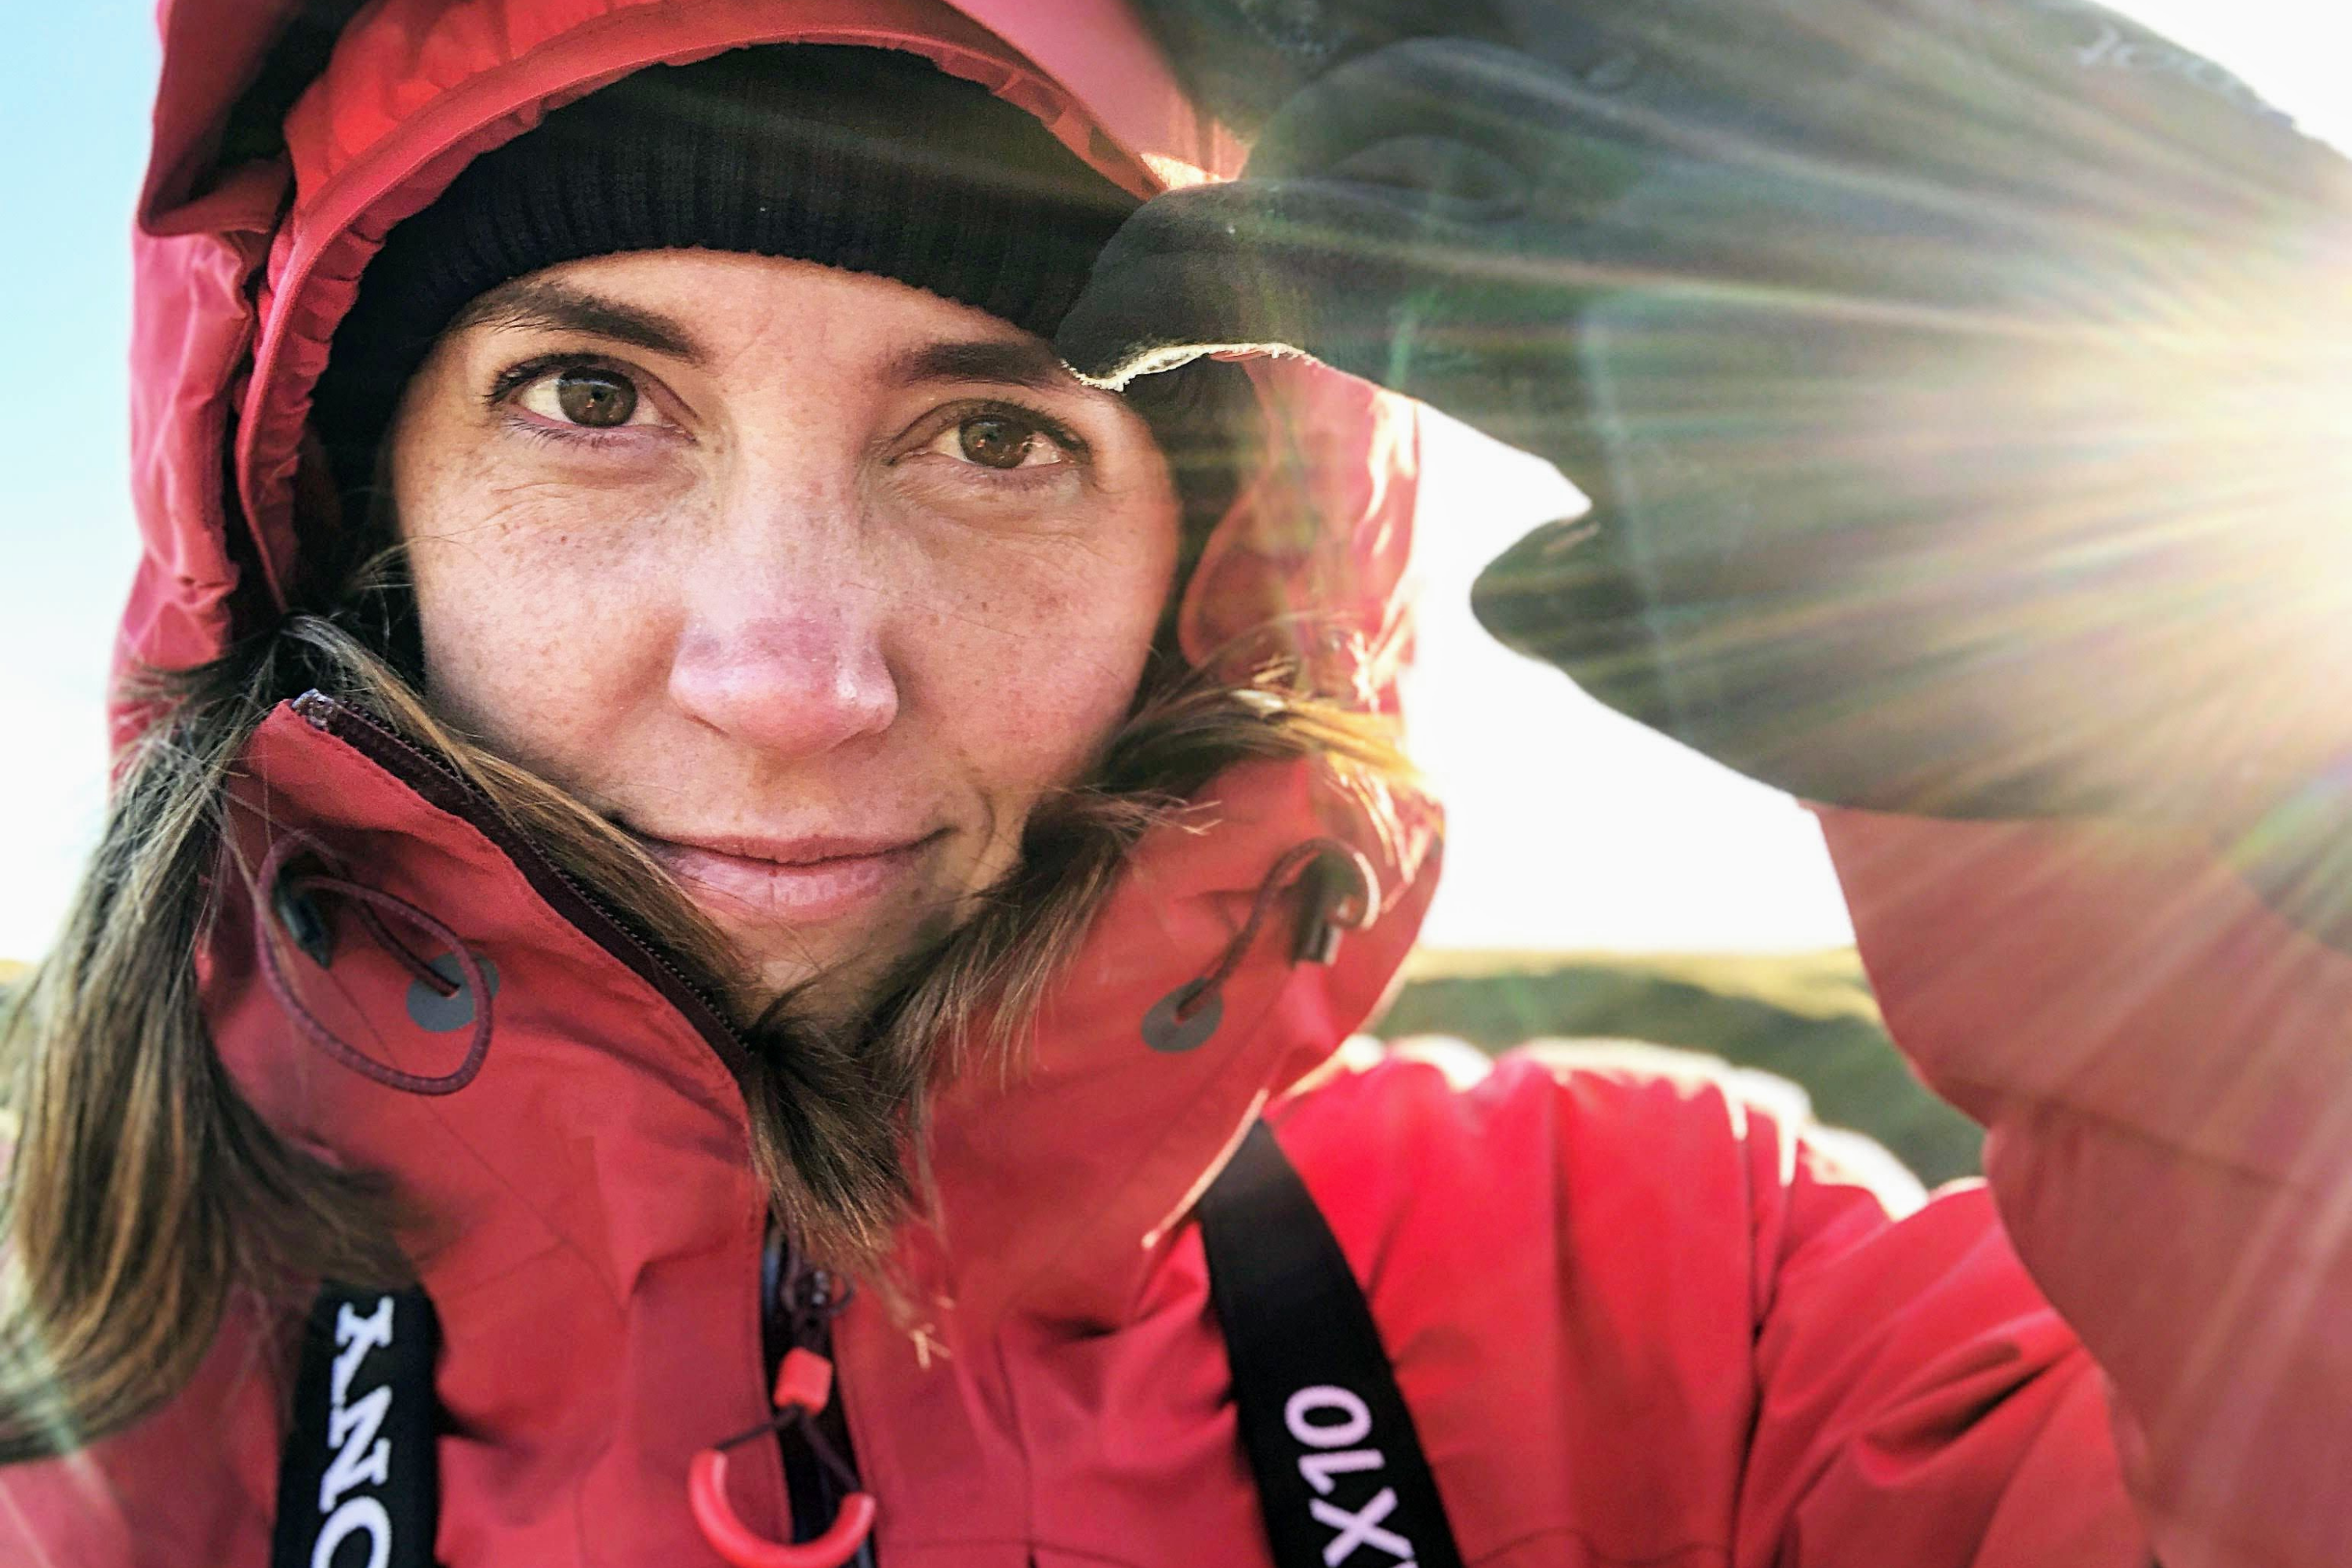
If you’ve just found this blog, make sure you checkout the first part by clicking here: Aconcagua – The Vacas Valley Route In 31 Pictures (Part 1)
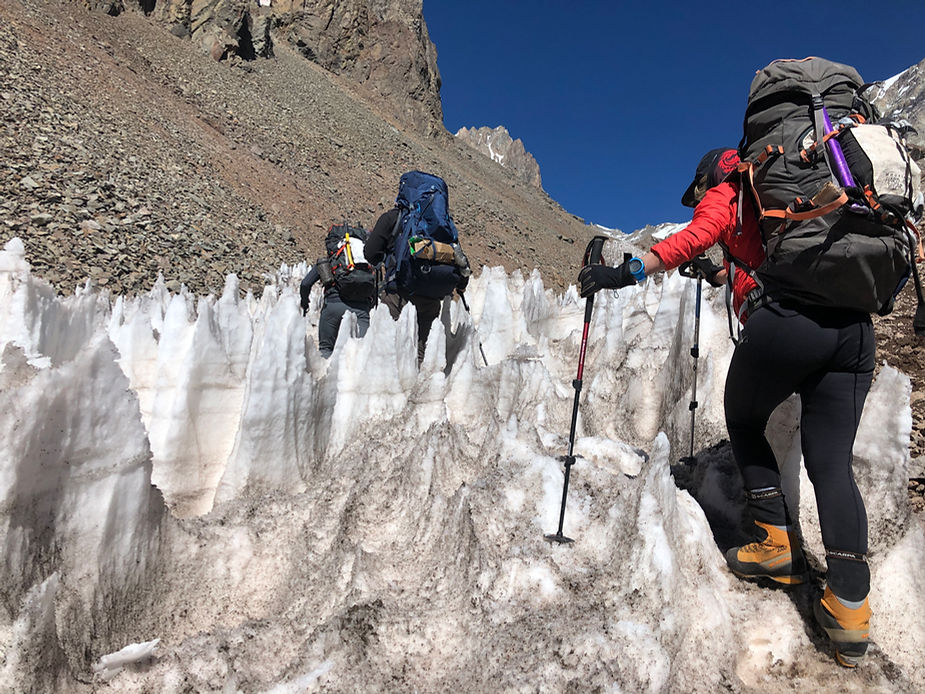
16. Trekking through the famous Penitentes between Base Camp and Camp 1. Penitentes are very special to the high altitudes of the Andean glaciers. They are formed because of a process called sublimation. The sun’s rays evaporate the snow, except the ice becomes vapour, without melting into water first. Sunlight gets trapped between the troughs and reflects off the walls. The extra heat carves out even deeper troughs. This speeds up the sublimation process even more and as a result icy spikes known as Penitentes are formed.
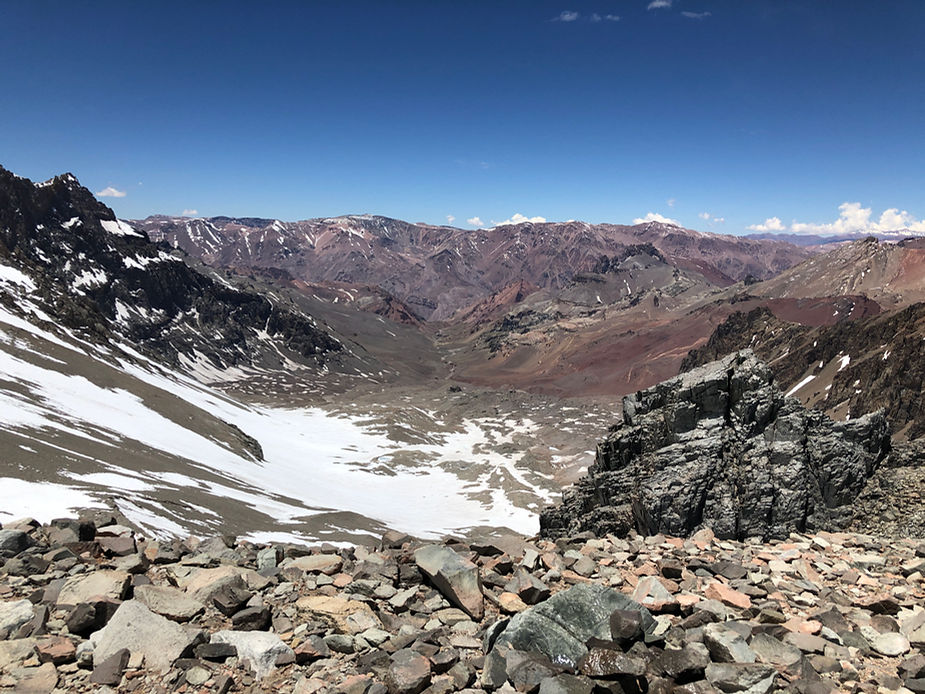
17. The view from Camp 1 (4,850m)
18. Christopher observing the morning activities at Camp 1!
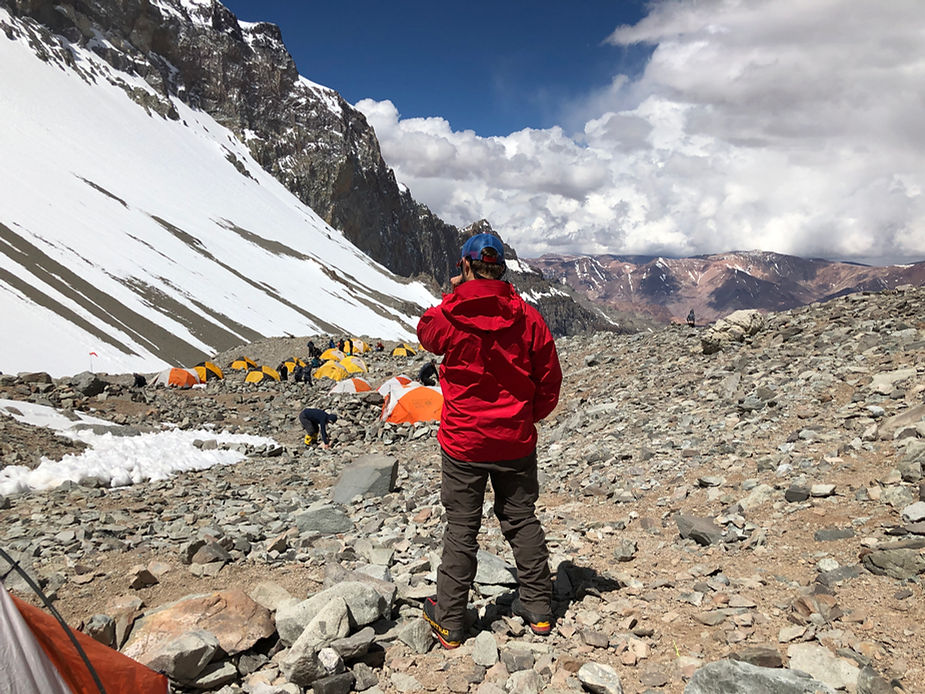
19. The route up from Camp 1 to Camp 2 (Guanacos). It may look pretty easy, but be warned this is a long, long steep slog that can take up to 3 hours just to reach the top of the slope. After you’ve reached the top, it’s a flattish hour or so followed by a steady traverse; several snow fields and then up to Camp 2.
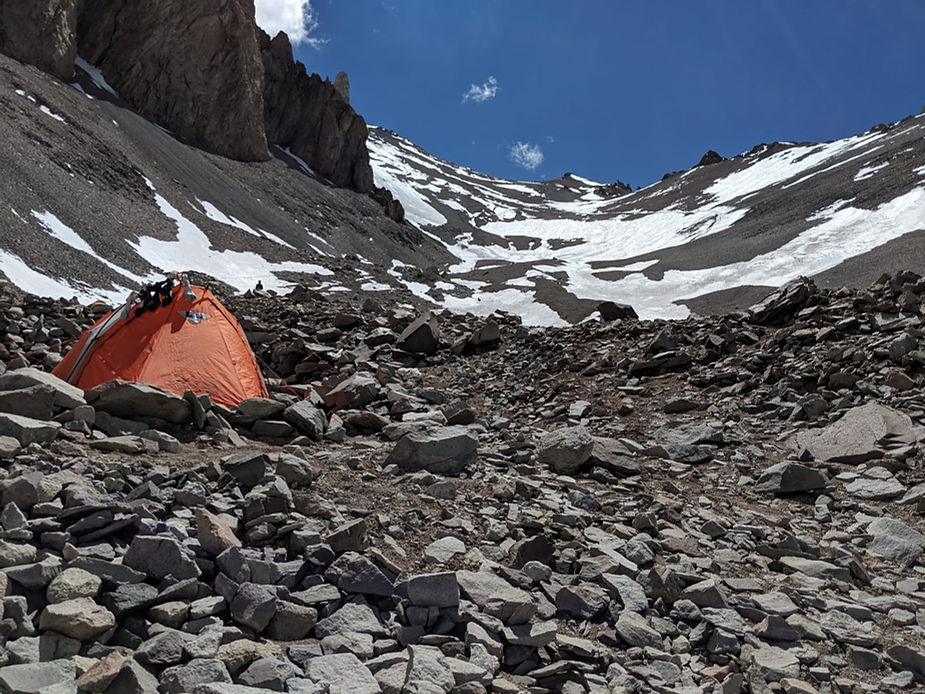
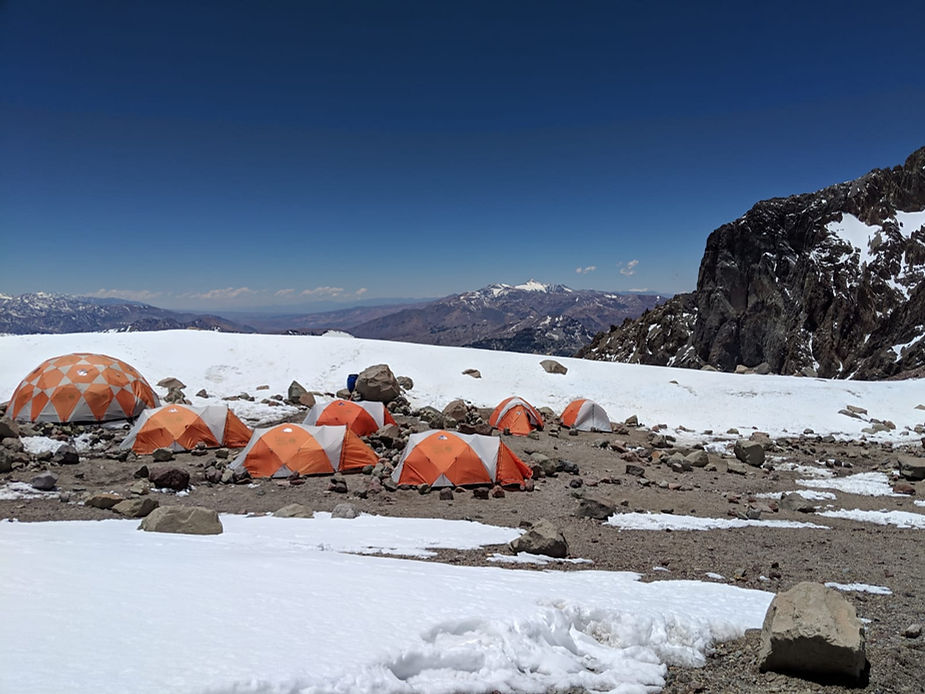
20. Welcome to Camp 2 also known as Guanacos (5,500m).
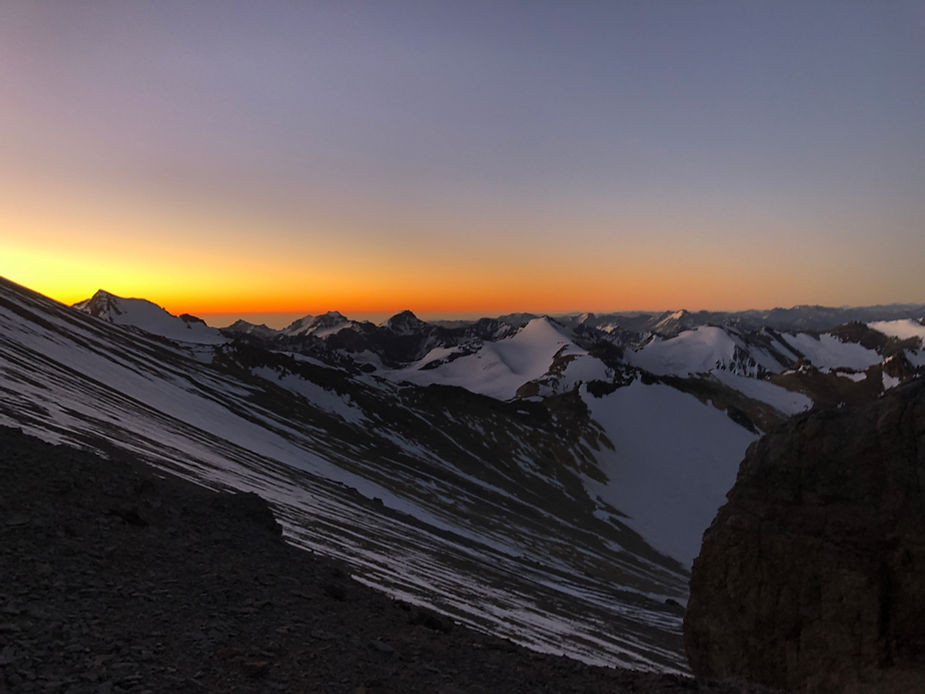
21. Sunset views from Camp 2.
Sadly I didn’t take many photos between Camp 2 and the next photo. The ones I did take had our teammates in them and in order to respect their privacy and not break any laws, I’ve decided not to add them.
So, I’ll talk you through this section.
From Camp 2, you’ll take a steep slope up to a long snow/scree traverse. From there its another steep section up to the platform known as Camp 3 or Camp Colera at 6,000m. From here you’ll be making your summit attempt.
When you start your summit attempt, it starts with a long, steep section that can take up to 2 hours so settle in for the long haul. You’ll come up over this section and be able to take a sheltered break amongst the huge rocks and cliff like features. After that, you’ve got a short, steep section to get to…
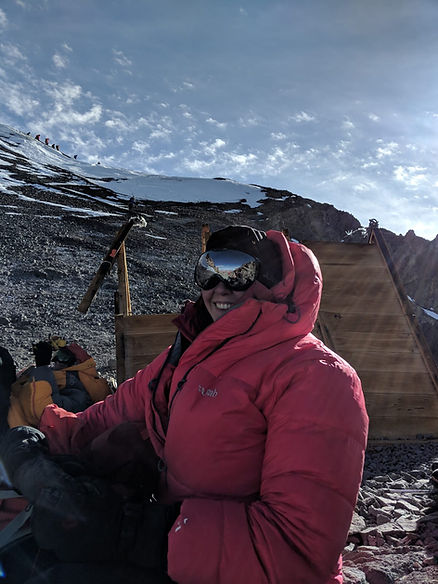
22. Independencia Hut! You can see the little hut behind me. From here, you’ll climb a very steep section before you hit the long, exposed traverse. You can see in this pic in the top left hand corner other climbers making there way up.
23. This photo was taken by one of my teammates at the end of the exposed traverse but if you look on the right hand side of the photo, you can see a long winding path. That is the traverse.

After the long traverse, you’ll find yourself climbing steep scree, boulders and snow in the famous Canaleta. Once you’ve gotten to the top of that, it’s a few, short steps to the summit platform.
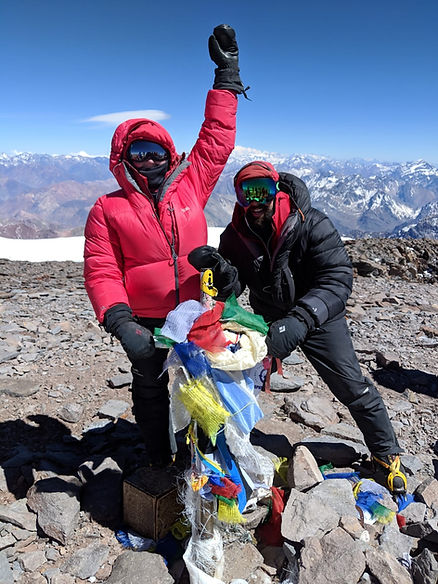
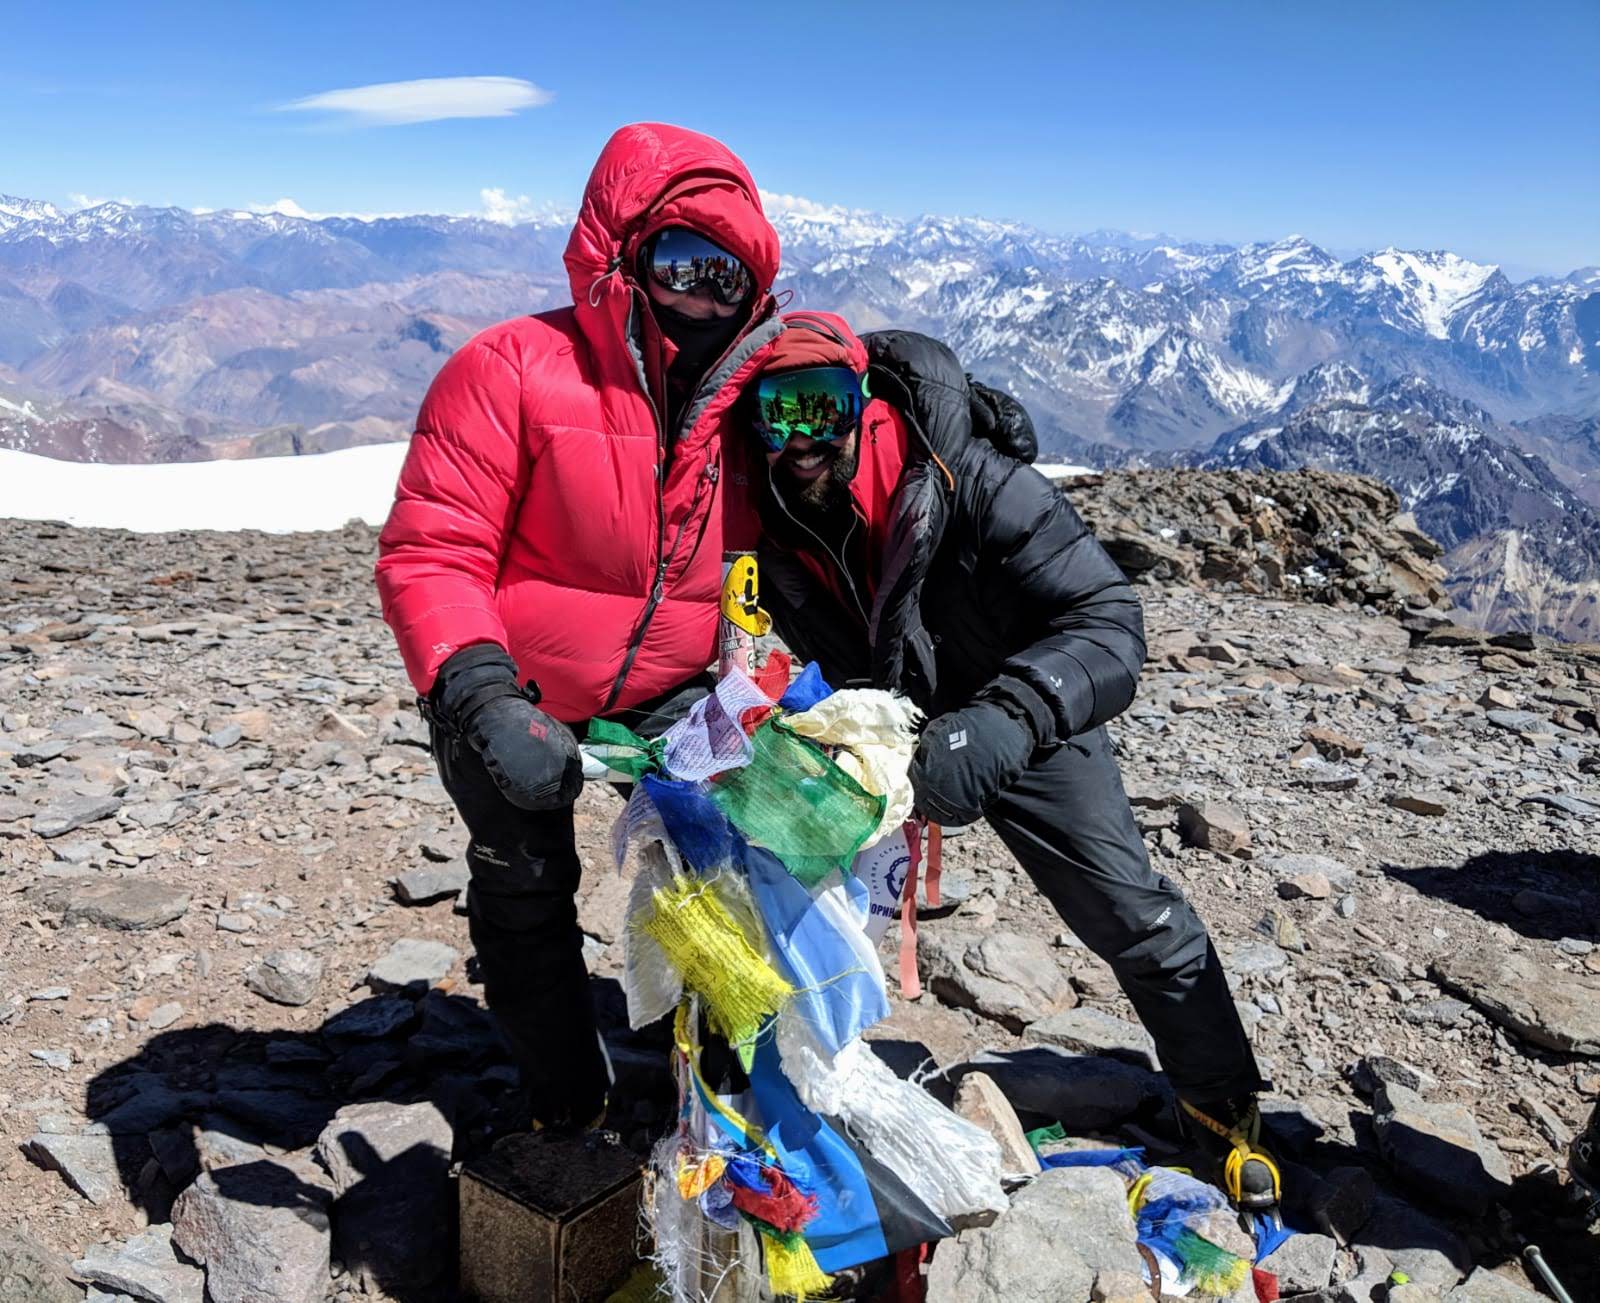
24. Christopher and I at the summit of Aconcagua (6,962m)
Okay, so once we reached the summit, I hardly took any pictures until we got to Plaza Del Mulas the next day.
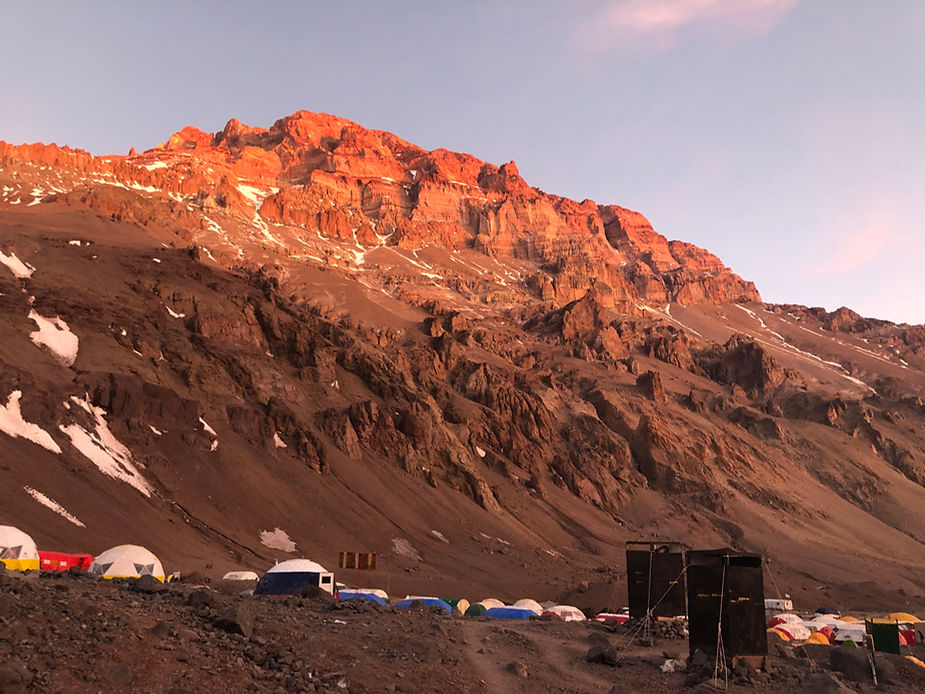
25. When you do The Vacas Valley Route, you will normally come down along the Normal Route and end up at the much bigger and more populated Plaza Del Mulas/Base Camp. This is what it looks like with Aconcagua in the background.
26. Trekking from Plaza Del Mulas to your pick up point will take the entire day. It is long and dusty for most of the way, passing though a small marsh field and then over a bridge.
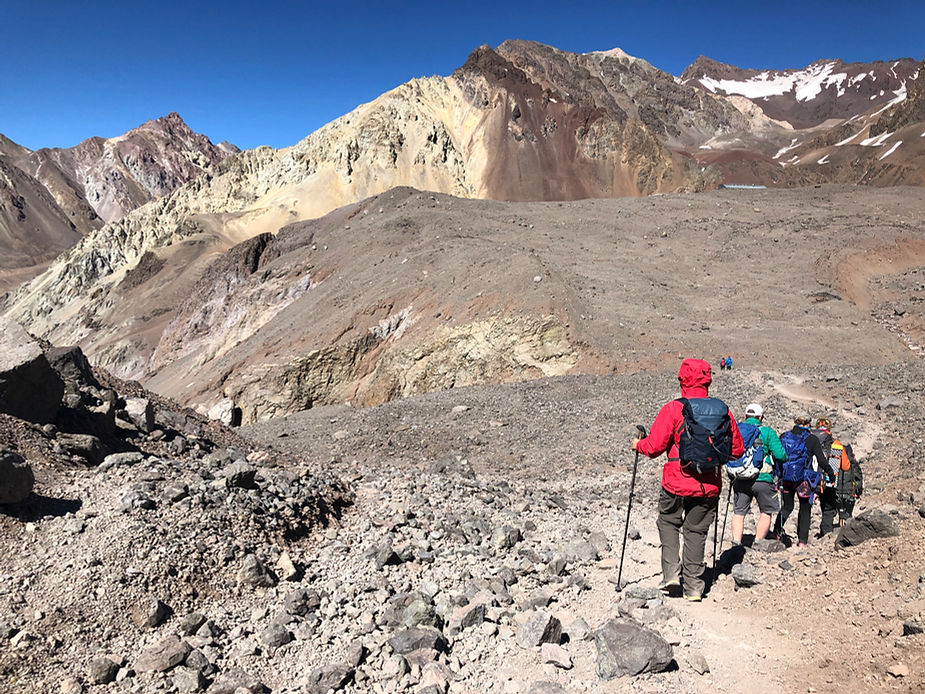
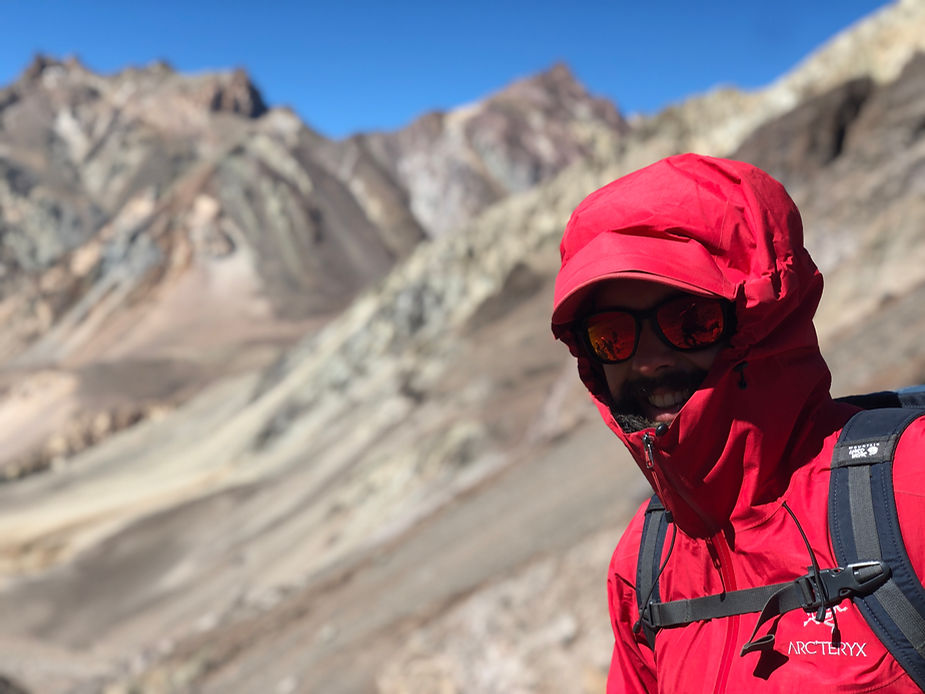
27. Even though it’s long, dusty and warm for the most part, it can get very windy. As you can see form the pic, Christopher has his Goretex® layer on even though it’s gorgeous conditions.
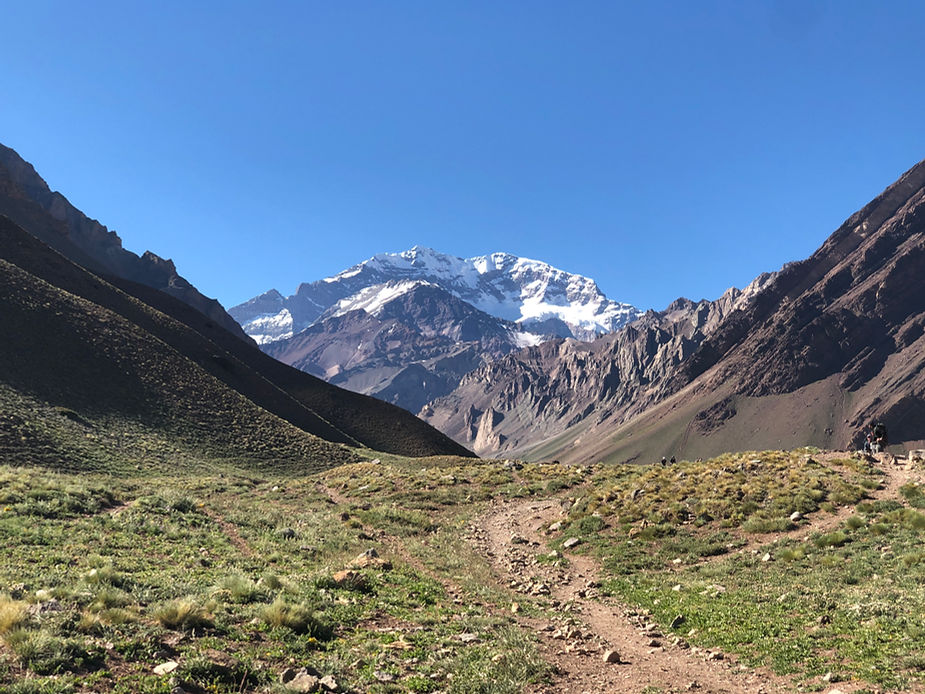
28. Your last views of Aconcagua as you reach the exit of the National Park.
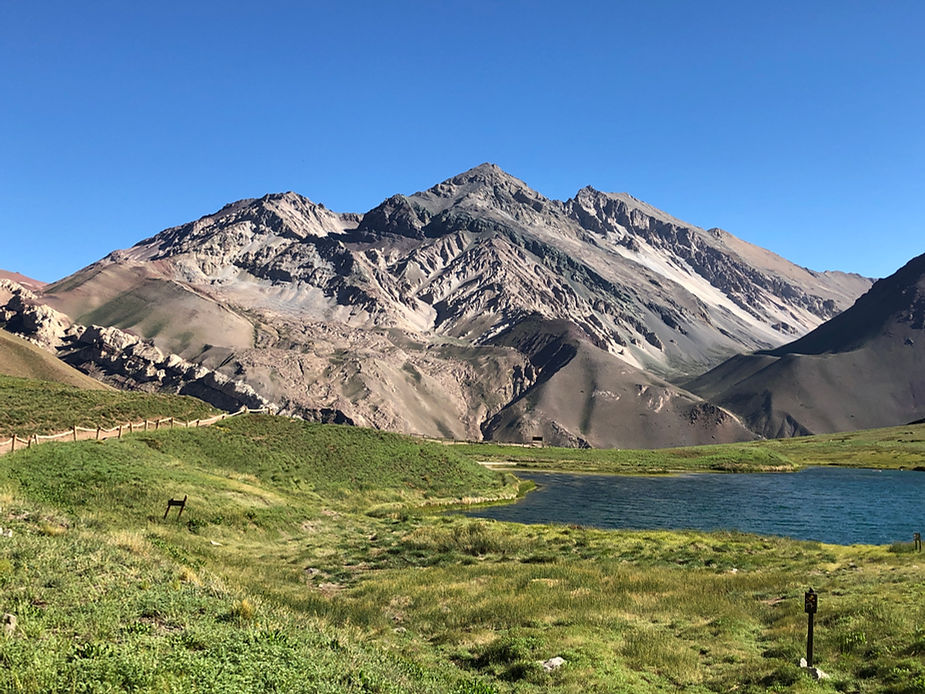
29. This particular section was so beautiful it actually looked like a painted canvas!
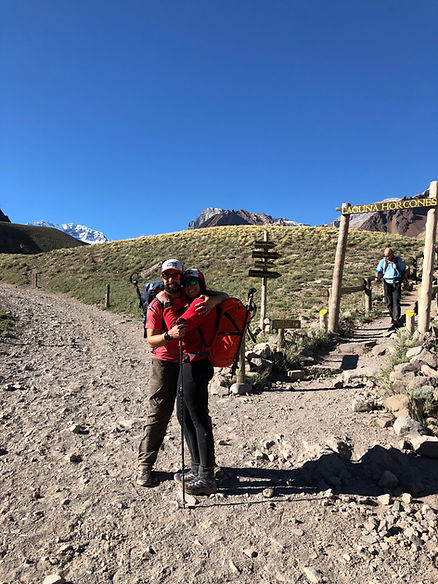
30. And you’ve reached the end!
If you are on the fence about doing Aconcagua then I hope these pictures brought you a deep well of inspiration and excitement about the choice you have ahead of you. Aconcagua is a beautiful and life changing peak. If you have the chance to attempt her summit then you should absolutely do it!
