Have you ever found yourself weighed down by your backpack, experiencing aching shoulders and a sore neck after a day of climbing, or battling discomfort in the upper section of your back?
If you answered “yes” mentally to any of those scenarios, then this blog is tailor-made for you and will teach you exactly how to pack your backpack for your next mountaineering expedition.
When most people gear up for a mountaineering or trekking expedition, the often-overlooked factor is the art of backpack weight distribution.
I’ll admit, that used to be me ??♀️
Back in the days, I would haphazardly stuff everything into my backpack without rhyme or reason.
And then wonder why I was in agony twenty-eight minutes later. To make matters worse, whenever I needed something, it was a frustrating endeavour to unpack and repack because I couldn’t remember where I had stashed anything.
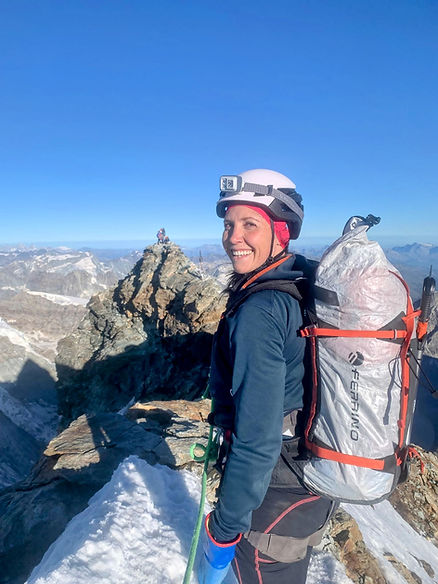
Thankfully, time and experience have given me a wealth of knowledge and as a result I’ve developed a system that not only makes carrying my backpack (sometimes up to 22kg) comfortable but also ensures a streamlined approach to locating things!
Here are five best practices from that system so that you too can perfect your weight distribution and as a result have a much, much more enjoyable climb or trek:
1. Backpack Selection
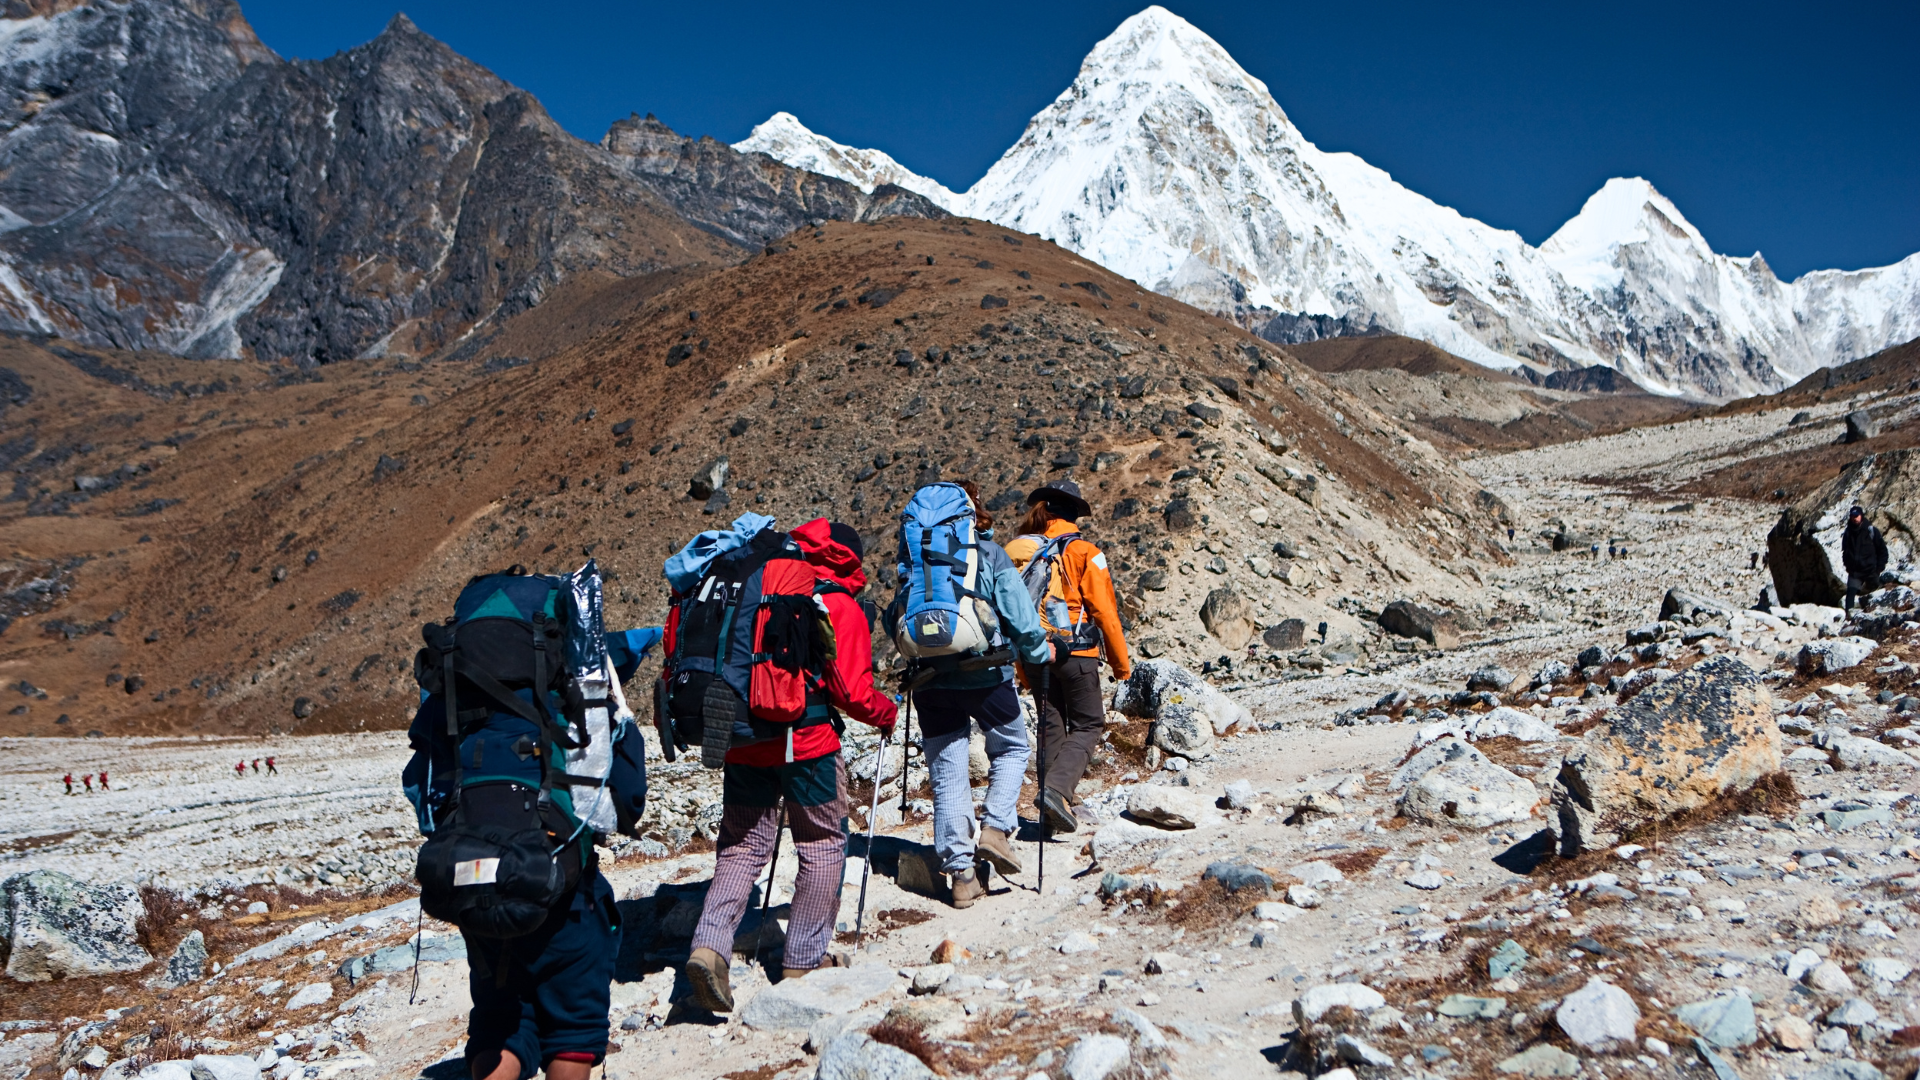
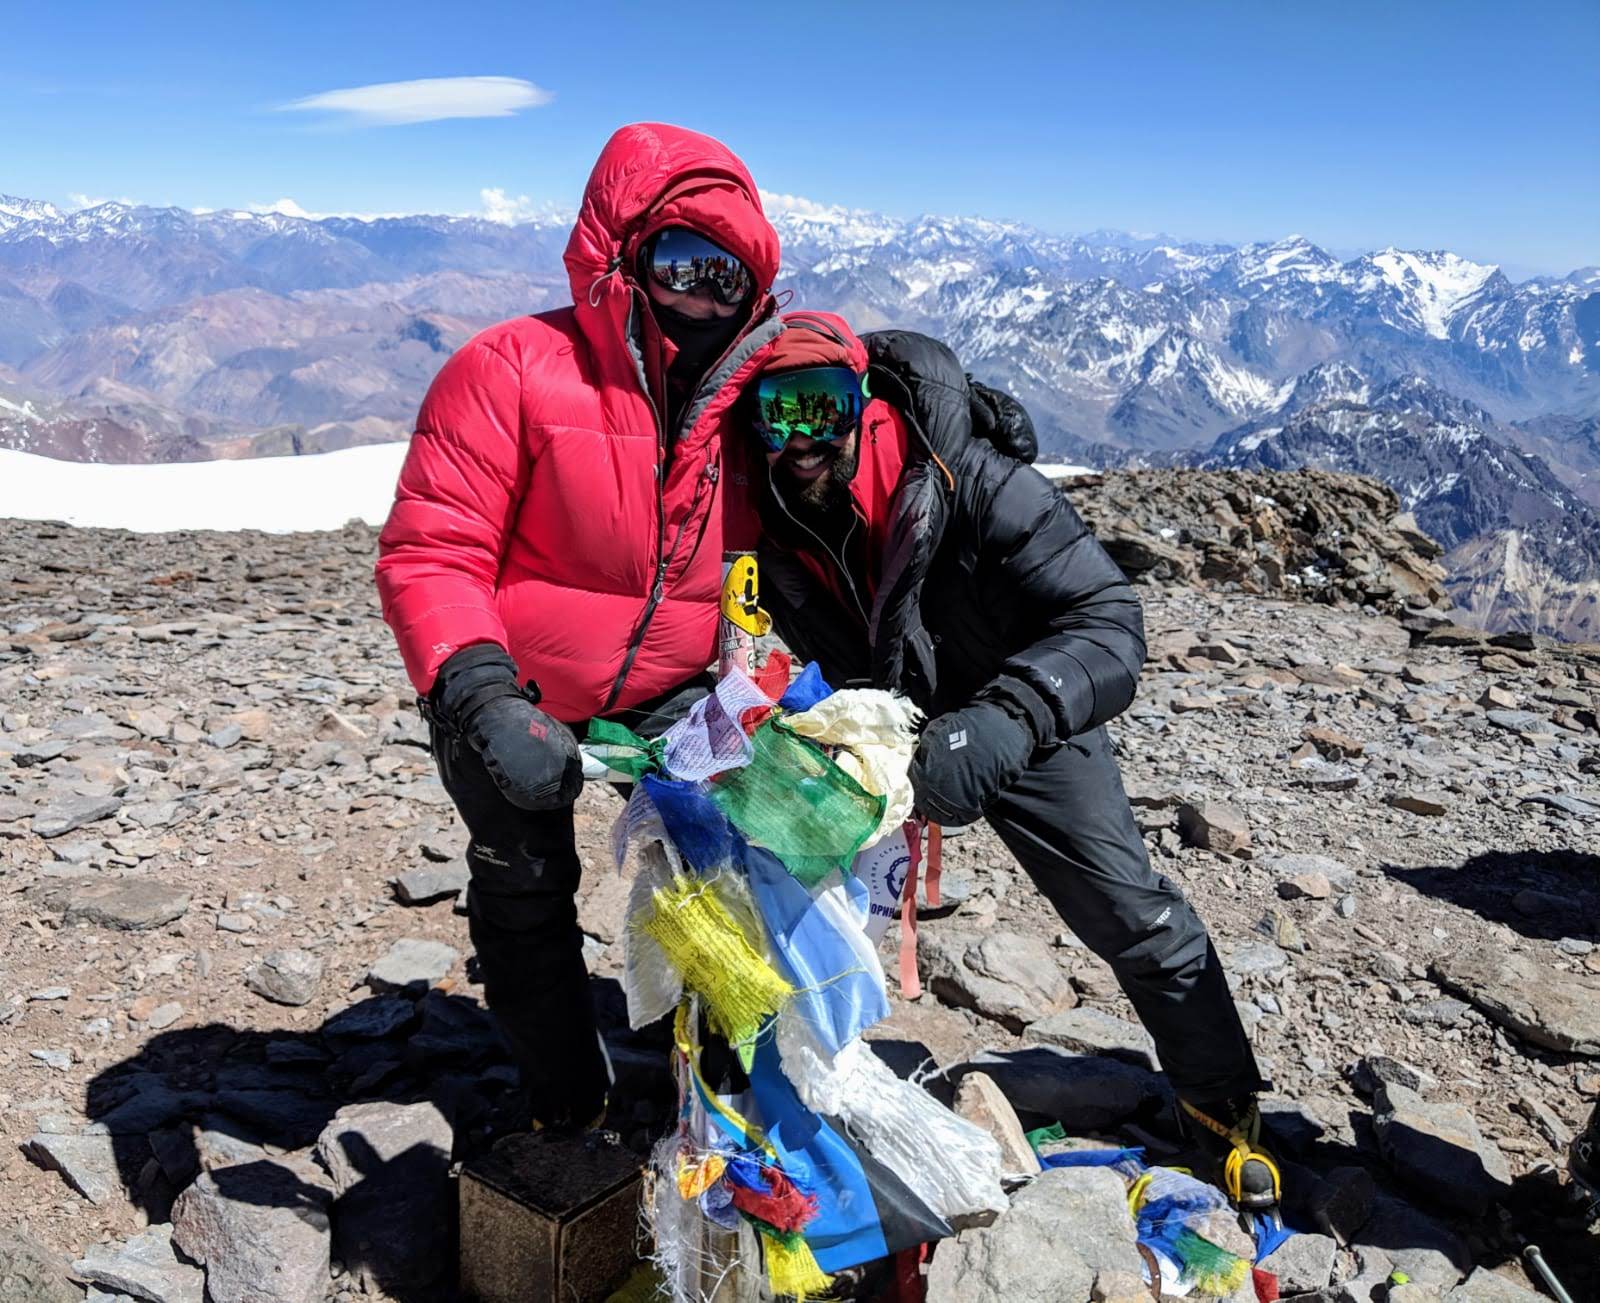
Your backpack should be a perfect match for your body size, shape, and the demands of your trek or expedition. For instance, a load-carrying peak like Aconcagua calls for a 70/80L backpack, whereas a peak like Mont Blanc requires a 30/40L backpack.
2. Gear Categorisation
It’s vital to categorise your gear based on three key factors:
- Weight
- Frequency of use
- Importance
This method facilitates efficient weight distribution and keeps frequently used items in an easy to get to spot. In terms of weight, categorise and pack your gear as follows:
- Heavy items (tent, sleeping bag): These belong at the core of your backpack, close to your back. This central placement enhances stability and preserves your centre of gravity.
- Medium-weight items (clothing layers, cookware): Surround the heavy items with medium-weight gear. Distribute them evenly to maintain equilibrium.
- Light items (snacks, maps, headlamp): Reserve exterior pockets or the top lid of your backpack for lighter gear.

3. Stuff Sacks and Dry Sacks
Invest in dry bags or stuff sacks to compartmentalise your gear. These organisational tools simplify item retrieval and prevent shifting during your ascent. I also label each bag or sack to save time rummaging through them.
4. Your Body’s Centre Of Gravity
Sync your backpack’s centre of gravity with your body’s centre of gravity to sustain stability. Adjust the backpack’s straps to ensure the load rests comfortably on your hips, empowering your legs to bear the weight instead of your shoulders. Secure the hip belt firmly to distribute weight across your pelvis, and fine-tune the shoulder straps to eliminate sagging or pulling.
5. Left to Right
Distribute weight evenly from left to right, ensuring that heavier items are evenly balanced between both sides of your backpack. This
equilibrium reduces strain on your spine and hips, resulting in a more pleasant and efficient ascent or trek. Make sure your straps are equally tightened on both sides.
These five tips are simple yet incredibly effective. By adopting them, you’ll not only experience greater comfort but, most importantly, you’ll move faster and maintain better stability.
Speaking of tips, you can get even more, just like this on my Instagram Page here!
Preparing for a high-altitude trek or expedition can feel daunting at times. There’s an abundance of factors to consider, and often, details like backpack weight distribution are overlooked. That’s precisely why I incorporate best practices and tips just like this into my coaching programs with my clients on a weekly basis.
And here’s the exciting part: Most people join my coaching program for the training, but what they also get is a treasure trove of knowledge, best practices, and invaluable high altitude advice that they use on a daily basis during their trek or expedition.
You don’t have to feel overwhelmed and underprepared – there is another way and I’d love to show you how.
I offer a *FREE* 30-minute call specifically to help reduce that overwhelm and increase your preparedness by focusing on you, your biggest concerns and answering those overwhelming questions. Click the button below to book your call today:

And if the fit feels right, I’ll walk you through how my coaching programs work and the kind of results you can expect by joining my team.
Chat to you on the other side!
Kate x
P.S. If you’re not ready to start working with a High Altitude Coach just yet then I have a fantastic alternative for you.
Subscribe now to my exclusive newsletter, “The Summit Seeker’s Dispatch,” and unlock a world of weekly expert high altitude advice and best practices.
Delve into the realms of training, nutrition, altitude, and gear, all meticulously tailored to empower you in becoming fitter and stronger for your next high altitude adventure.
